Printing from a Smartphone
Mobile App Usage Procedure
1. Connect to the network
Connect your mobile device to the Hosei University Network System (hosei-wifi).
2. Install the app
Install the “KYOCERA Mobile Print” app to your mobile device.
3. Authentication print server registration
Enter the authentication server information.
*The images below are for iOS.
For Android, please tap “︙” , “Settings” and “Net Manager” to enter the information listed in the table.
Tap the gear icon in the lower right corner. 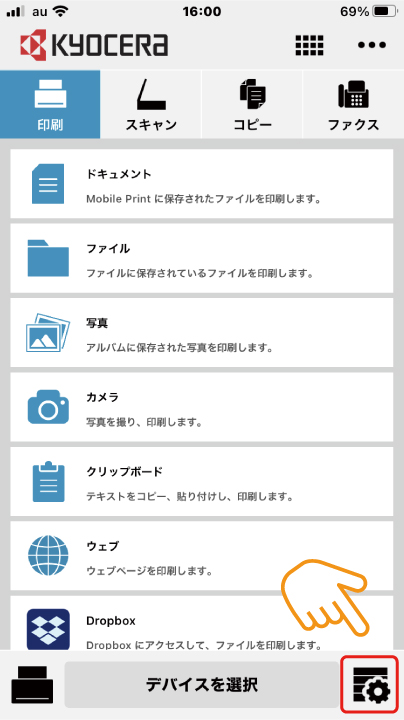
Swipe up. 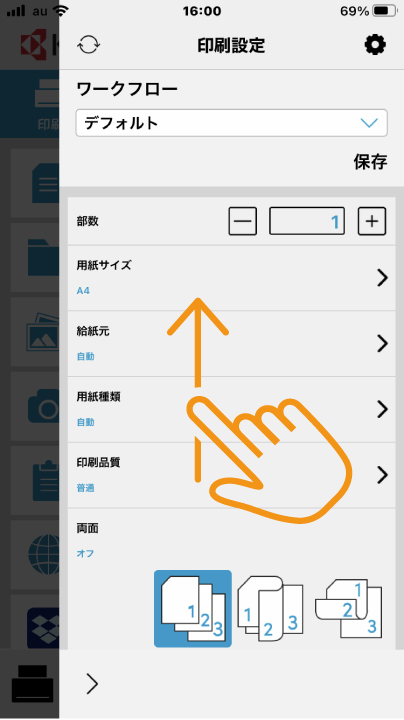
Tap “Net Manager.” 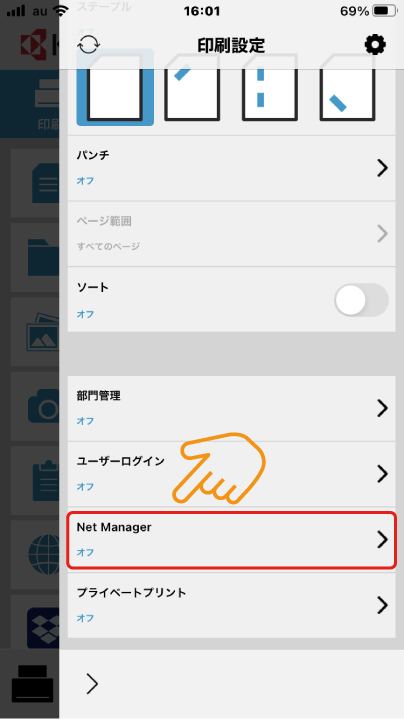
Enter No.1 through 5 below and turn on the toggle switch next to “Net Manager”. 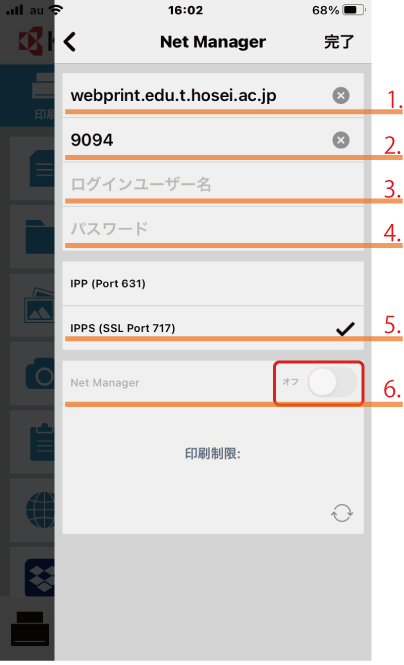
| No. | Description | Remark |
|---|---|---|
| 1 | IP address of authentication server |
webprint.edu.t.hosei.ac.jp (fixed) |
| 2 | Port | 9094 |
| 3 | Network login user | Integrated authentication user ID (Student ID number) |
| 4 | Network login password | Integrated authentication password |
| 5 | IPPS (SSL Port 717) | Fixed |
| 6 | Turn Net Manager on/off | After entering the information, toggle on |

When “Success” is displayed and the “Net Manager” function is changed to “On,” tap the “Done” button.
*If it is “off”, there is a possibility of incorrect entry. Please check each item and re-enter. 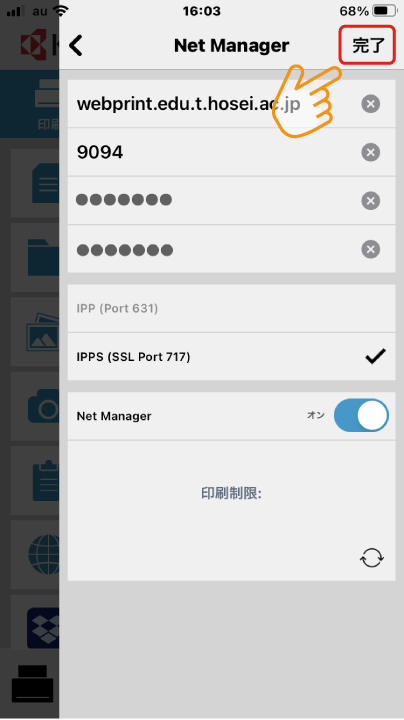
4. Select Queue
Select “mobile” as the Queue.
*If you select a queue other than “mobile,” printing will not be available.
Tap “Select Queue.” 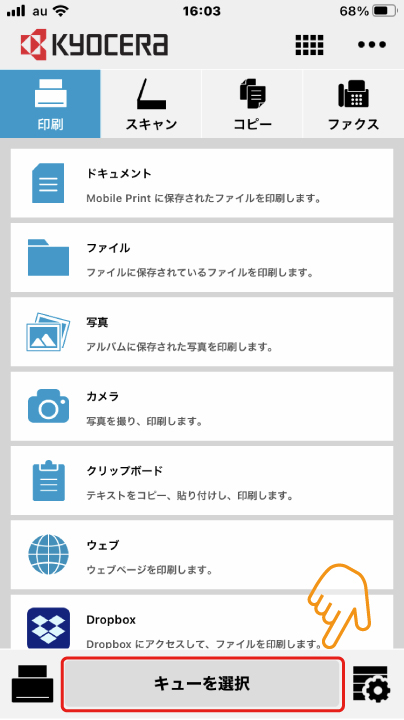
Tap “mobile,” then “Select.” 
The display will change to “mobile”. 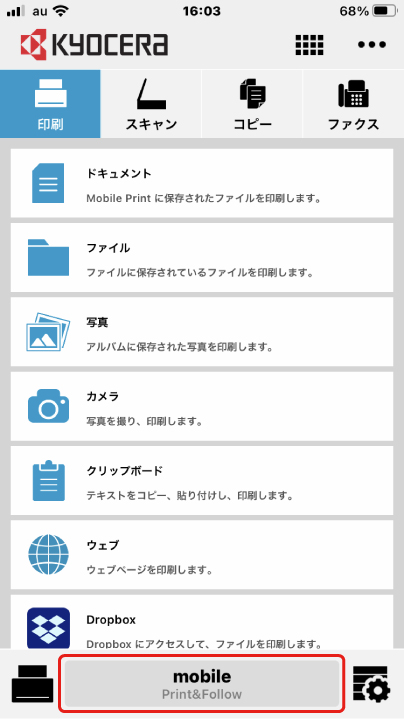
5. Printing Instruction
Select print data from each item and print.
The following shows how to print from “document”.
Tap “Documents.” 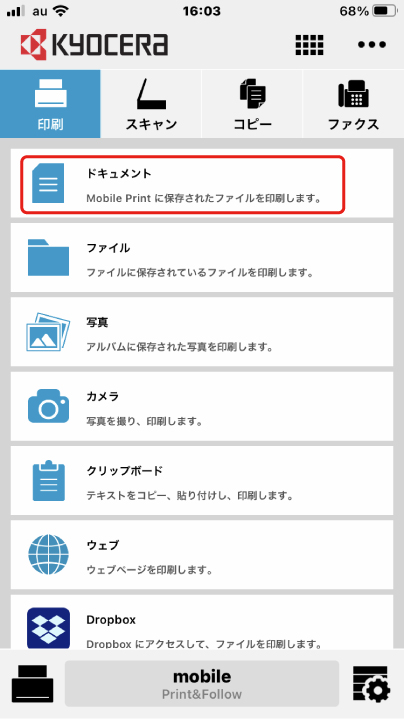
Tap the file to be printed.
*For mobile apps, files with more than 21 sides cannot be printed.
(You cannot print even if you specify a range of less than 20 sides.) 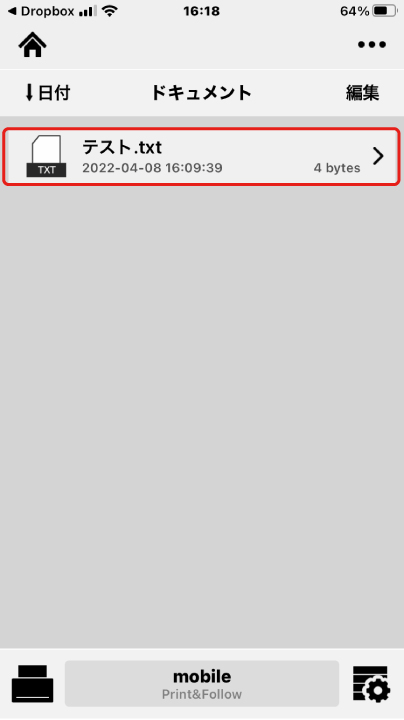
Tap the “Print” button. 
When “Done” is displayed, the operation on the application side is complete.
Once you have successfully sent the print job, you can print it by following the instructions in Using On-Demand Printing. 