User Guide for Large-Format Printer
1. Prepare the Large-Format Printer
1.1 Turn The Printer On
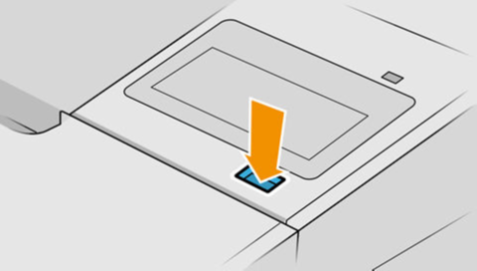
(1) Press the power key beside the front panel.
(2) For loading rolls, see step 1.2. For loading sheets, see step 1.3.
1.2 Loading Rolls
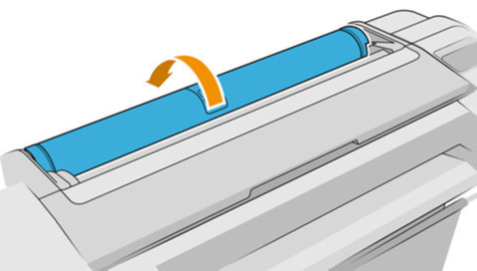
*After operating the front panel, open the roll cover.
(1) On the front panel, tap Paper Source, then Roll > Load.
(2) Open the roll cover after an indication appears on the front panel.
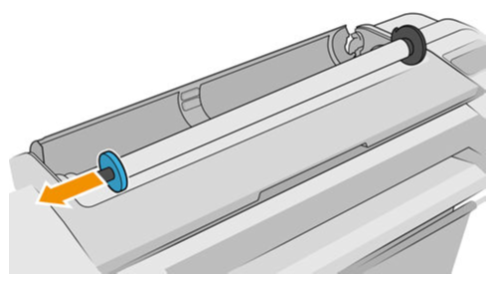
(3) Remove the spindle from the printer, starting from the black end and then the blue end.
(4) If the roll is long, rest the spindle horizontally on a table.
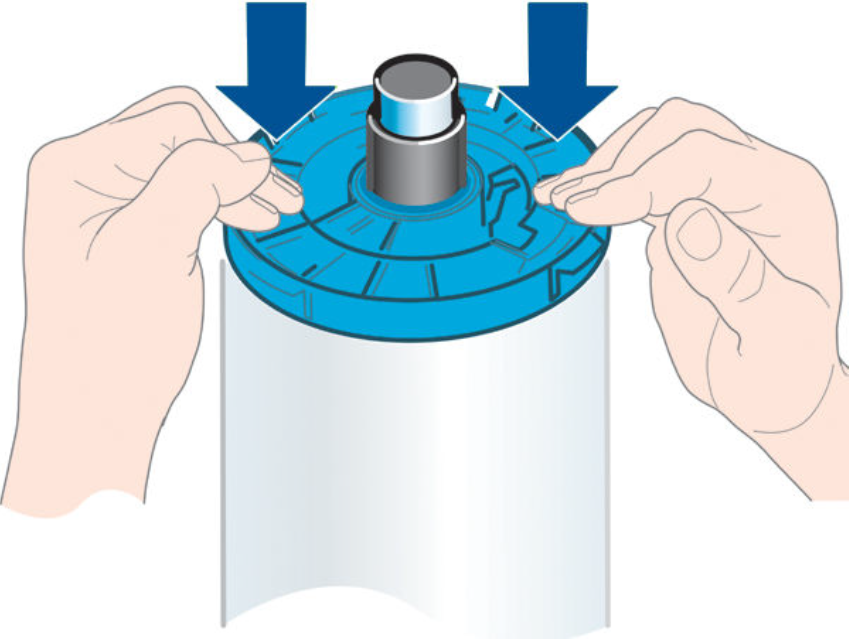
(5) Attach the new roll to the spindle. Make sure the roll is oriented in the direction shown. (The black stopper indicates the correct orientation of the roll.) If the roll is incorrectly oriented, remove the roll, turn it around 180 degrees, then reattach the roll. The spindle has a sticker on it indicating the correct orientation.

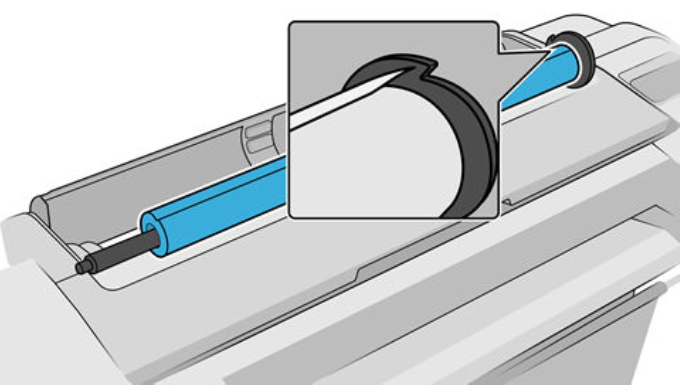
Ensure that the end of the roll is as close to the spindle stop as possible.
(6) Put the blue paper stop on to the open end of the spindle, and push it towards the end of the roll.

(7) Ensure that the blue paper stop is pushed in as far as it goes, until both ends are against the stoppers.
(8) Rest the spindle’s black end on the right roll holder (as seen from the front of the printer). Do not put the end completely into the roll holder.
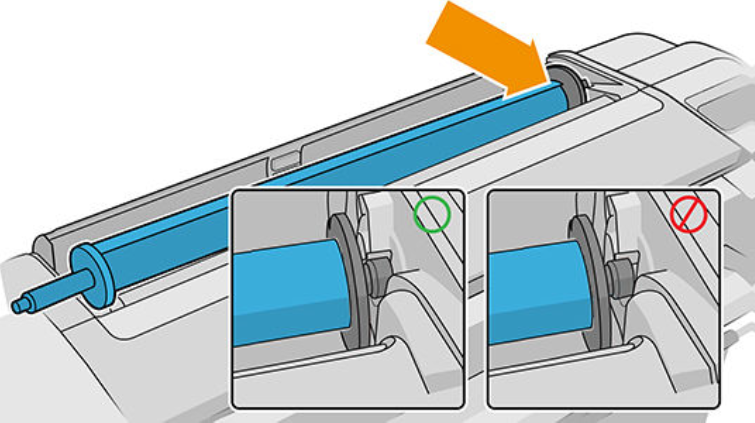
(9) Rest the blue end of the spindle on the left roll holder.
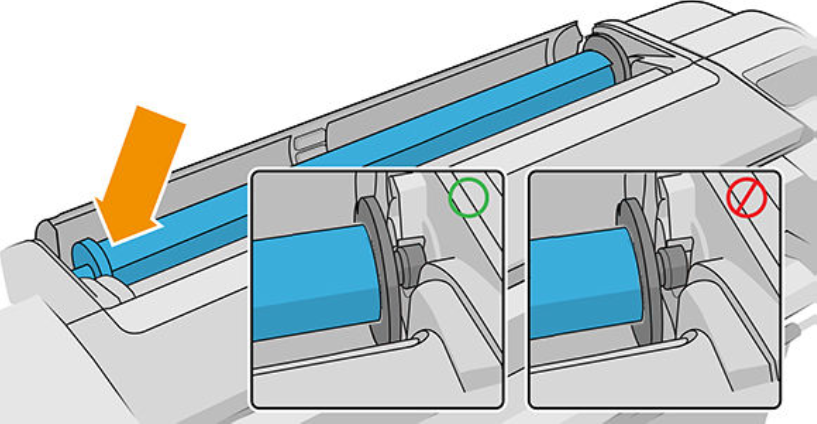
(10) With both hands, push the spindle into both roll holders at the same time.
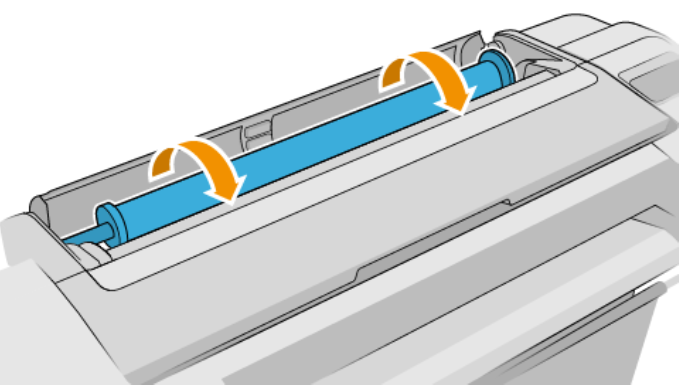
(11) Roll the paper into the printer until you feel resistance and the paper flexes slightly. When the printer detects the paper, it beeps, then feeds it in automatically.
(12) From the front panel, select Unknown (不明) for the paper length and press the blue button.
(13) If the leading edge of the paper has a barcode, the printer reads and then cuts off the barcode.You must remove and discard the strip of paper.
・If the leading edge of the paper has no barcode, the front panel prompts you to select the paper category and type. Choose the category that matches the paper type that you loaded, from the options shown (Plain Paper and Coated Paper, Photo Paper, Film, etc.).
(14) After you have finished setting the paper type, the front panel prompts you to close the roll cover.
・When the paper loading has been completed, the front panel will indicate that the paper has been properly loaded.
1.3 Inserting Sheets
(1) On the front panel, tap Paper Source, then Sheet > Load.
(2) When prompted by the front panel, insert the sheet into the cut-sheet slot on the right-hand side of the printer. The side to be printed is facing us in the illustrations; it will be facing up within the printer.


The printer checks the alignment and measures the sheet.
2. Printing from the Large-Format Printer
2.1 Printing PDF and PowerPoint Files
*To print from Word, Excel or a browser, first save the output as a PDF file and then print from the PDF file.
PDF Files
(1) Open the PDF file you wish to print, then click Print under the File tab.

(2) For Printer, select 01CP002 and then click Properties.

Go to Printing Step (1).
PowerPoint Files
(1) Open the Office file you wish to print, then click Print under the File tab.
(2) For Printer, select 01CP002 and then click Properties.

Go to Printing Step (1).
Printing Steps
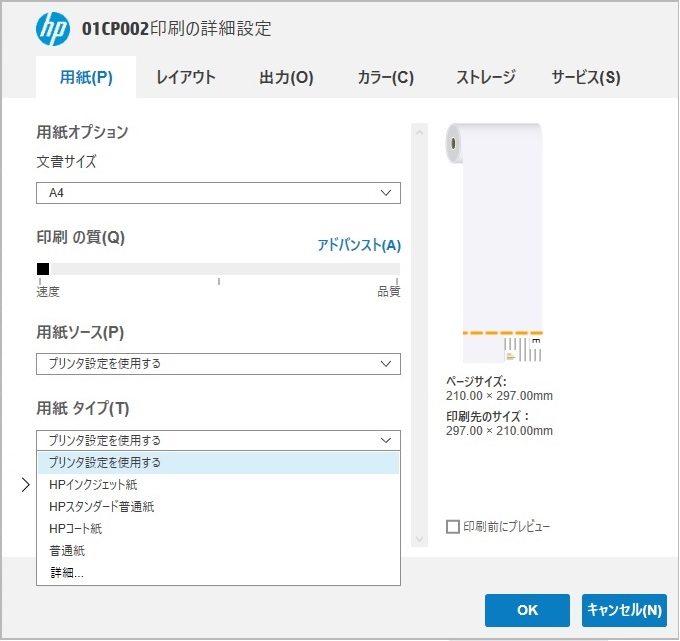
(1) The detailed settings for 01CP002 will be displayed.
For Paper type (T), select More then select the paper type (HP Standard Coated Paper or HP Standard Glossy Photo Paper).
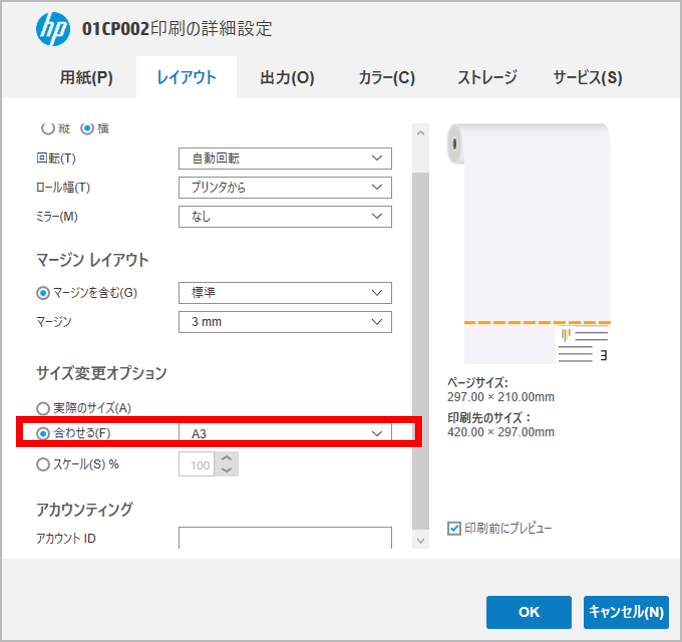
(2) Click the Layout tab.

(3) To print based on paper size, select Fit. This will scale the print to fit the paper size.
(4) To manually set the paper size, select Scaling under Page Sizing and choose the scaling percentage based on the image preview

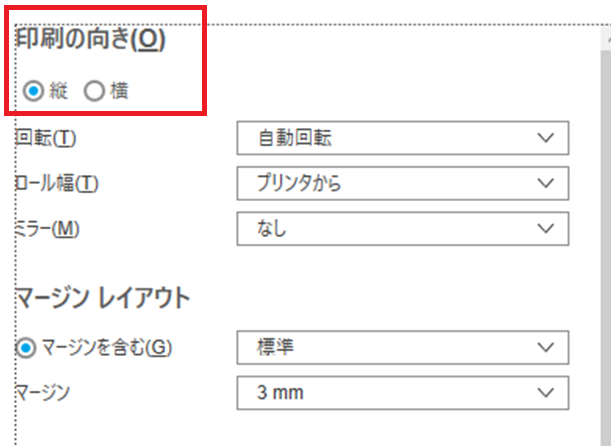
*If necessary, set the orientation to Portrait or Landscape.
(5) When you are finished with the layout, click “OK”.
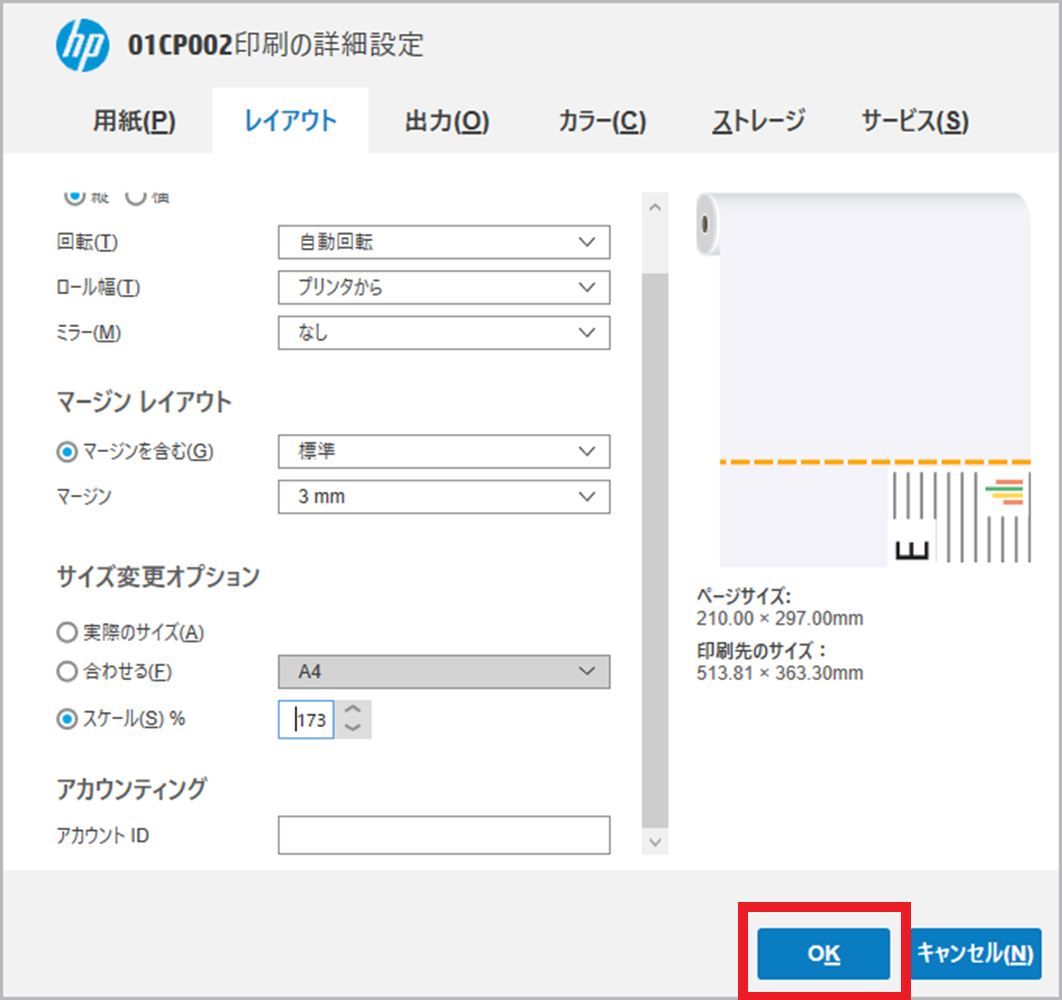
(6) Click “OK” to start printing.
2.2 Sheet Cutting after Printing
(1) Each sheet is automatically cut after it is printed.
If the print uses a lot of ink, the printer holds the paper to allow the print to dry after printing.
After the print is dry, the sheet is automatically cut and the next printing starts.
3. After Using the Large-Format Printer
3.1 Unload a Roll
(1) On the front panel, tap Paper Source then the Roll icon and Unload.
3.2 Unload a Sheet
(1) To unload a single sheet after printing, you can simply pull the sheet free from the front of the printer.
(1) Press the power key beside the front panel. (2) When prompted on the front panel if you wish to shutdown, tap Shutdown.
To unload a sheet without printing, go to the front panel and tap Paper Source, then the sheet card, then Unload.
The sheet unloads out of the front of the printer; either catch it manually or allow it to fall into the basket. 3.3 Shutdown Procedure